guides
DIY Hydroponics System: Complete Build Guide
How to build a DIY hydroponics system: step-by-step DWC bucket method, materials list, nutrient mixing, and maintenance for beginners.
 Priya Anand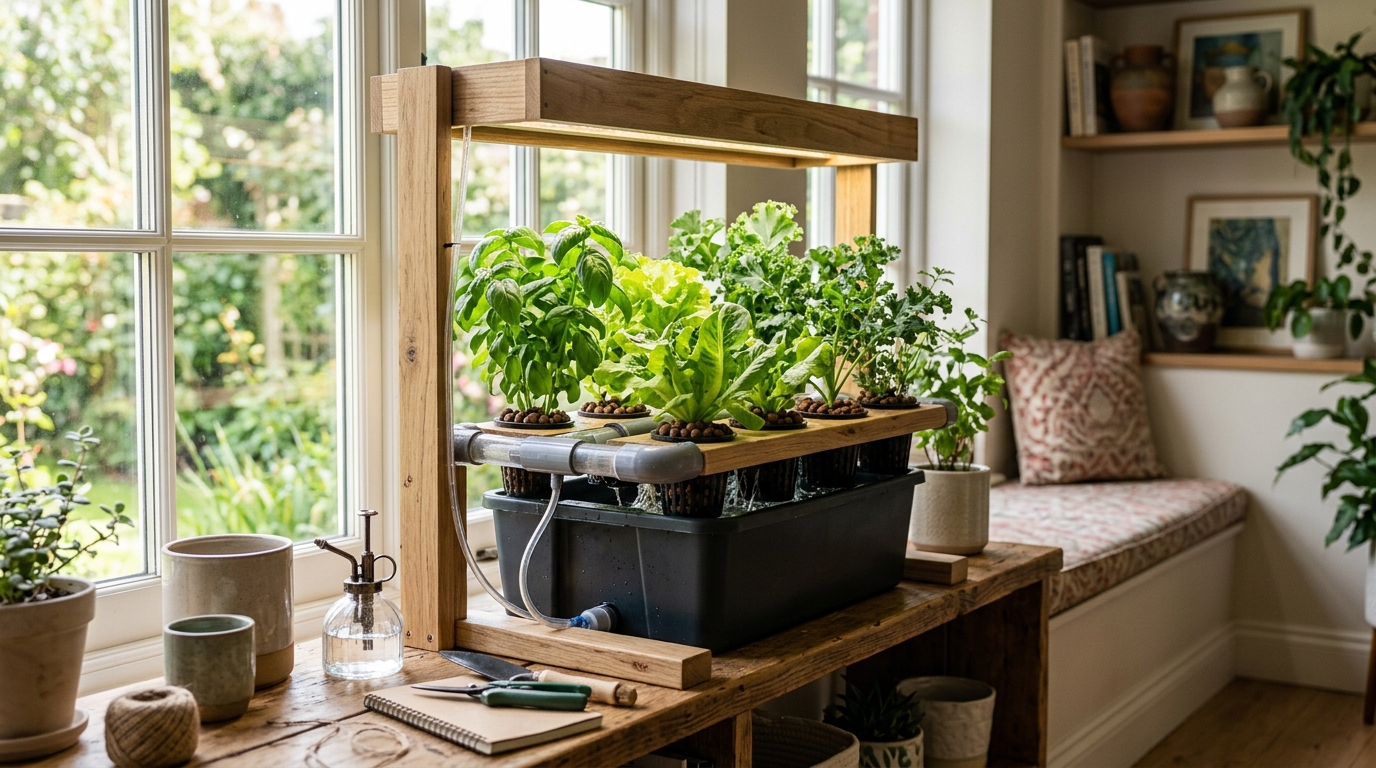
The easiest DIY hydroponics system to build at home is a deep water culture (DWC) bucket: a 5-gallon opaque bucket, a net pot lid, an air pump, an airstone, and a two-part nutrient solution. You can assemble a functional single-plant DWC system in under two hours for $40–$65, grow lettuce from seedling to harvest in 4–5 weeks, and scale to a multi-bucket setup for under $150.
Why build your own hydroponics system instead of buying a kit?
Pre-built hydroponic kits cost $80–$300 and are convenient, but building your own is substantially cheaper, teaches you exactly how the system works, and lets you customize reservoir size and plant count for your actual space. A 5-gallon DWC bucket assembled from parts costs $40–$65; an equivalent commercial kit runs $80–$120. The savings compound when you scale: four DIY buckets connected to a shared reservoir cost less than one mid-range commercial system.
Beyond cost, a DIY builder understands every component. When pH drifts or an air pump fails, they know immediately where to look. Beginners who start with a black-box kit often panic at the first water color change or plant wilt because they do not know what normal looks like from the inside.
Which DIY system type should you build?
Three designs are practical for a home builder with no specialized tools. All three work for leafy greens and herbs; DWC and NFT also support fruiting plants at larger scale.
| Product | Best for | Rating | Notes | |
|---|---|---|---|---|
| Deep Water Culture (DWC) Bucket | Beginners, lettuce, herbs, and fast growth | ★★★★★ | Plant roots hang into an aerated nutrient reservoir. An aquarium air pump and airstone keep dissolved oxygen high. The simplest active system to build: one bucket, one drilled lid, one air pump. Build cost: $40-65. Best for single plants to start; scale by linking multiple buckets to a shared reservoir. | Check price |
| Kratky (Passive DWC, No Pump) | Absolute beginners and lettuce only | ★★★★★ | A net pot sits in a jar or container lid. As the plant drinks the solution down, an air gap forms above the liquid that oxygenates the roots passively. No pump or electricity needed. Works perfectly for lettuce and small herbs; struggles with large fruiting plants. Build cost: $10-20 in mason jars and net pot lids. | Check price |
| Wick System | Herbs, small leafy greens, and seed starting | ★★★★☆ | A cotton or nylon wick draws nutrient solution from a reservoir up into coco coir or perlite by capillary action. No electricity needed. Slow nutrient delivery limits plant size: herbs, lettuce seedlings, and microgreens work well; tomatoes and peppers will underperform. Build cost: $15-25. | Check price |
| NFT Channel System | High-volume lettuce and herb production | ★★★★★ | A thin film of nutrient solution flows continuously through sloped PVC channels past suspended roots. Produces large quantities of lettuce in a small footprint. Requires a pump, reservoir, and sloped channels — more complex than DWC but scalable to 20+ plants. Build cost: $60-120 for a 12-plant channel. | Check price |
Start with the single-bucket DWC. It uses the same core principles as every other active hydroponics system — aerated nutrient solution, inert growing medium, and pH-managed water — while keeping the build to one afternoon and the part count under ten items.
Materials list for a single-bucket DWC system
You can source everything from a hardware store, pet supply store, and Amazon. Total cost: $40–$65.
Reservoir and structure:
- One 5-gallon opaque plastic bucket with lid — opaque prevents algae growth in the solution
- One 3-inch or 4-inch net pot sized to fit a hole cut in the lid
- Expanded clay pebbles (hydroton) — one small bag covers one bucket
Aeration:
- One aquarium air pump rated 2–4 liters per minute
- One round or cylindrical airstone
- 18–24 inches of 3/16-inch air tubing
- One non-return valve to prevent water back-siphoning into the pump during power outages
Nutrients and water management:
- A two-part or three-part liquid hydroponic nutrient concentrate — General Hydroponics Flora Series is the most widely used baseline
- A digital pH meter or pH test drops
- A TDS/EC meter to measure nutrient concentration
- pH Up (potassium hydroxide solution) and pH Down (phosphoric acid solution)
Light:
- A full-spectrum LED grow light if growing indoors without a south-facing window
Optional but useful:
- A submersible aquarium thermometer to monitor solution temperature
- An outlet timer for the grow light
Step 1: Prepare the bucket and net pot
- Confirm the bucket is opaque or paint the exterior flat black. Light reaching the nutrient solution triggers algae growth that competes with roots and fouls the water.
- Trace the inner diameter of your net pot on the center of the bucket lid. Use a hole saw or drill plus a jigsaw to cut the opening. The net pot rim should rest on the lid without the pot falling through.
- Drill a small 3/16-inch hole near the lid edge for the air tubing to pass through.
- Rinse the clay pebbles under running water until water runs clear. Pre-rinsing removes dust that would cloud the solution and clog root zones.
Step 2: Install the air system
- Thread the air tubing through the lid hole and attach the airstone to the submerged end inside the bucket.
- Run the tubing to the air pump, positioning the pump outside the bucket and above the water line. A pump mounted below the water line can siphon solution back through the tubing during a power outage, flooding the motor.
- Install the non-return valve in the tubing between the pump and the bucket entry point. The arrow on the valve points toward the bucket (away from the pump).
- Plug in the pump and confirm steady bubbling from the airstone. A pattern of small bubbles distributed across the bottom of the bucket is ideal.
Step 3: Mix your nutrient solution
pH management is the most important step in the build. More DIY hydroponic systems fail from ignored pH than from any equipment problem.
- Fill the bucket with clean tap or filtered water to 2 inches below the bottom of where the net pot will sit. This gap is the air zone — roots grow into the solution from below while the upper portion of the net pot stays moist but air-exposed. A 5-gallon bucket holds approximately 3.5–4 gallons of solution at this level.
- Add nutrient concentrate per the label directions. For General Hydroponics Flora Series at the vegetative stage, a standard starting rate is 5 ml each of FloraMicro, FloraGro, and FloraBloom per gallon of water; the GH feed chart specifies adjusted ratios for seedling, vegetative, and flowering stages.
- Run the air pump for 5 minutes to mix and equilibrate the dissolved gases before measuring.
- Test pH with your digital meter. Target 5.8–6.2 for most vegetables and herbs. Add pH Down drop by drop if the reading is above 6.5; add pH Up if below 5.5. Stir after each addition and re-test — pH solution is concentrated and moves readings quickly with small volumes.
- Measure EC with your TDS/EC meter. For leafy greens and herbs at the vegetative stage, target 1.0–1.6 mS/cm (500–800 ppm on a 500-scale meter). If EC is too high, dilute with plain pH-adjusted water; if too low, add a small additional dose of nutrient concentrate.
Step 4: Add your plant
Starting from seed (slower, lower cost):
- Soak a rockwool starter cube in pH 5.5–6.0 water for 30 minutes to prime it.
- Insert one or two seeds into the pre-drilled hole in the cube. Place the cube in a humidity dome under low-intensity light or a bright windowsill at 70–75°F.
- Once the seedling has its first true leaves (7–14 days after sprouting), transfer the entire rockwool cube into the net pot and surround it with rinsed clay pebbles. The cube base should touch or barely dip into the solution; the stem should be stable above the pebble line.
Transplanting an established seedling:
- Remove the seedling from its soil cell or starter tray. Gently rinse all soil from the roots under lukewarm water — residual soil in a hydroponic system introduces pathogens and can clog the root zone.
- Nestle the cleaned root ball into the net pot and fill around it with clay pebbles so the plant stands upright. Roots should extend down toward the solution level.
Run the air pump continuously. Roots require dissolved oxygen 24 hours a day — turning the pump off overnight to save electricity causes root suffocation within hours in a warm DWC system, because warm water holds less dissolved oxygen than cool water.
Step 5: Monitor and maintain the system
A well-calibrated DWC bucket is nearly self-maintaining once stable. The routine takes under 10 minutes per week.
Daily (30 seconds):
- Confirm the air pump is running and bubbling steadily
- Check plant leaves for yellowing, dark spots, or wilting — early symptoms are far easier to correct than advanced deficiencies
Every 2–3 days:
- Top off the solution level as plants drink it down; use plain pH-adjusted water between nutrient changes so you are not compounding salt concentration
- Recheck and re-adjust pH — solution pH naturally drifts upward as nitrogen is absorbed
Weekly:
- Measure EC and add nutrient concentrate if the reading has dropped more than 0.3 mS/cm below your target
- Inspect roots — white roots with a slight fuzzy texture indicate healthy, oxygen-rich conditions; brown, slimy, or foul-smelling roots mean root rot is developing
Every 3–4 weeks (full nutrient change):
- Empty and scrub the bucket with a 3% hydrogen peroxide solution (do not use bleach — trace amounts harm developing plant roots and any beneficial microbes)
- Refill with fresh nutrient solution mixed and pH-adjusted from scratch
Common DIY hydroponics mistakes to avoid
Skipping pH adjustment every 2–3 days. Nutrient lockout occurs when pH drifts out of range even if EC looks correct. Plants yellowing despite fresh solution almost always trace back to pH above 6.8 or below 5.2 that was left uncorrected for days.
Using a clear or translucent bucket. Any light that reaches the nutrient solution feeds algae. Algae competes for dissolved oxygen and nutrients. Wrap or paint clear buckets before putting any plants in them.
Running the air pump on a timer. Unlike drip systems that benefit from wet-dry cycles, DWC roots require continuous oxygenation. The air pump in a DWC system runs 24 hours a day, every day.
Overcrowding the reservoir. A 5-gallon bucket is sized for one tomato plant, two pepper plants, or three to four lettuce heads. Exceeding plant density crashes both nutrient concentration and dissolved oxygen faster than your weekly top-off schedule can correct.
Ignoring solution temperature. Nutrient solution above 72–75°F cannot hold adequate dissolved oxygen for healthy roots. If your space is warm, wrap the bucket in reflective insulation, or move it to a cooler location.
Changing pH too aggressively. Add pH Up or pH Down in small increments — a few drops at a time — stir, and re-test. Overshooting in one direction then compensating in the other creates rapid swings that stress plant roots more than a reading slightly out of range.
FAQ
Frequently asked questions
How much does it cost to build a DIY hydroponics system?
What is the best plant to start with in a DIY hydroponics system?
Do I need a grow light for a DIY hydroponics system?
How often should I change the nutrient solution in a DWC bucket?
Why are the roots brown in my DWC bucket?
Can a DIY hydroponics system grow tomatoes or peppers?
Bottom line
A DIY deep water culture system is the fastest, most cost-effective way to start growing hydroponically at home. For $40–$65 in parts, you can build a working single-plant system in one afternoon, harvest lettuce in 4–5 weeks, and scale to a multi-bucket setup as your confidence grows. Two habits determine whether the system thrives: test and correct pH every 2–3 days without exception, and watch the roots weekly — white roots mean the system is healthy, and any browning demands immediate action. Everything else in DIY hydroponics follows naturally from those two routines.
For deeper reading on the systems and supplies covered here: best hydroponic systems reviewed, choosing hydroponic nutrients, best DWC hydroponic systems, and wick system hydroponics guide.